Wiring it up
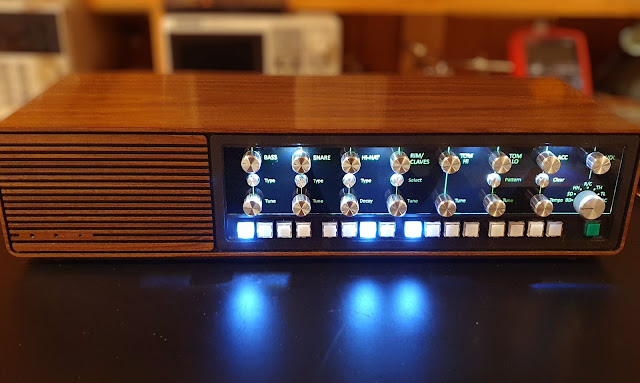
The drum machine project is getting near the end. It still needs to be put mechanically together and do the wiring.
Although I have designed the system, it still came a bit as a surprise how much wiring there actually is. I found myself drawing wiring diagrams page after page. Wiring of this complexity level cannot be done without proper diagrams, at least I cannot plan and solder at the same time.
The parts that need to be interconnected:
- 8 circuit boards
- upper front panel (part of the chassis)
- 15 pots, part of them tandem
- 6 push switches
- a 7-position rotary switch
- lower front panel (part of the housing)
- 16 sequencer buttons, with leds
- 1 start/stop button, with led
- connectors at the back
- line out
- external sync
- speaker
One of my many hand-drawn diagrams, the trigger wiring. I won’t put them all here, there are too many of them, and part of them are not easy to understand for anyone else.
Here is the chassis built up, sound control pots and push switches installed, PCBs temporarily attached and first wires soldered in place.
Level control pots installed, rotary switch wired, starting the audio cabling.
Audio cabling mostly done, wiring the sequencer.
Power supplies, audio amplifier and back-panel connectors added. Chassis is ready.
The front panel buttons need still to be wired. The button switches are wired as a 4*4 matrix, because 74C922 wants it like that. Besides that, the leds are wired separately. Both are connected to sequencer boards with ribbon cable connectors.
After this, the chassis is slided inside the housing and attached with screws. Backpanel in place and the project is ready!
A video showing the machine in action:
Every project needs a name. Because most of the looks comes from the Nordmende, I think I will name this Drumende. Maybe I should make a logo to replace the Nordmende logo, but it will happen some day...


Comments
Post a Comment